Set up a cloud GPU "practice lab" for NVIDIA NCA-AIIO: deploy a RunPod Pod, connect via JupyterLab/SSH, verify CUDA + GPU, and run quick AI/ops checks you can reuse on the exam.
Why RunPod is Useful for NCA-AIIO Prep
The NCA-AIIO exam leans practical: you should be comfortable with GPU-enabled Linux environments, basic tooling, and connecting to remote compute. RunPod Pods give you a ready-to-use GPU VM-like environment (container-based), JupyterLab for interactive learning, SSH for real "ops-style" workflows, and a repeatable lab you can start/stop when studying.
What You'll Build (End State)
By the end of this tutorial you'll have a running GPU Pod based on an official PyTorch template, working JupyterLab access, working SSH access for terminal-first workflows, and a short "exam-style checklist" of commands to validate GPU/CUDA and environment sanity.
 Step 1 — Deploy a GPU Pod (Template-Based)
In the RunPod Console, go to Pods → Deploy. Choose an official RunPod PyTorch template — these come with JupyterLab pre-configured. Expose port 8888/http for JupyterLab, and optionally port 22/tcp if you want classic SSH workflows.
Set a Jupyter password via environment variable: JUPYTER_PASSWORD=your_secure_password.
Tip for beginners: keep it simple — don't customize the container start command unless you know why.
Step 2 — Connect via JupyterLab (Beginner-Friendly)
Open your Pod and click Connect. Under HTTP Services, open Jupyter Lab (typically on port 8888).
If you hit a blank page, wait about 60 seconds and hard refresh — Jupyter can take a bit to come up, especially on first boot.
Step 3 — Set Up SSH (More "Ops-Like")
For NCA-AIIO-style comfort, SSH is worth learning because it mirrors real infrastructure work.
3A) Add Your SSH Key to RunPod
Generate a key on your laptop with this command:
ssh-keygen -t ed25519 -f ~/.ssh/id_ed25519 -C "you@example.com"
Then view your public key:
cat ~/.ssh/id_ed25519.pub
Copy the output into your RunPod account under SSH Public Keys in user settings.
3B) Connect Using the Pod SSH Command
In the Pod's Connect menu, copy the provided SSH command — RunPod shows it for your pod when SSH over exposed TCP is supported — then run it locally.
Note: SSH key injection typically happens at Pod startup. If you add keys after the pod is already running, you may need to redeploy or reset the pod, or manually append the key to ~/.ssh/authorized_keys on the pod.
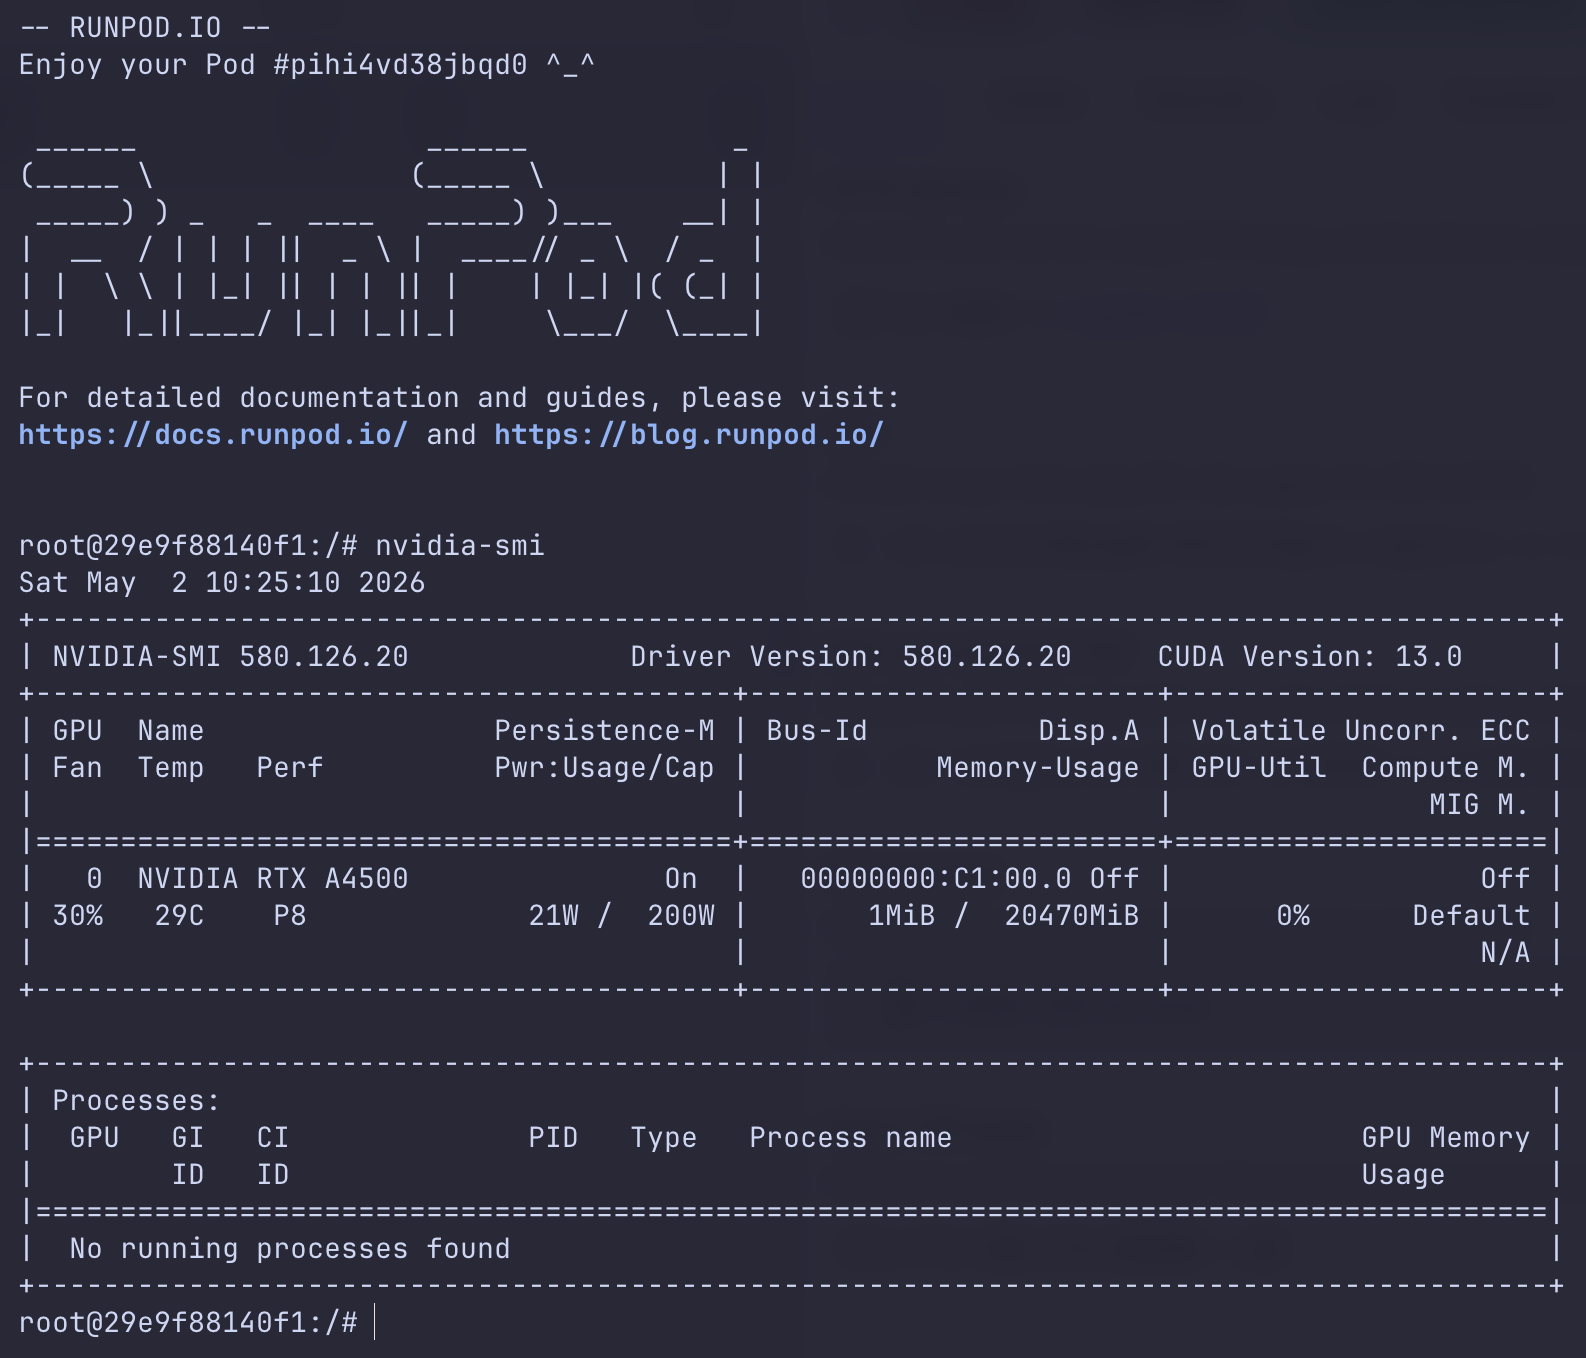 Step 4 — Your NCA-AIIO GPU Sanity Checklist
These commands are perfect for a study routine. Run them in the Jupyter terminal or over SSH.
4A) Confirm You Can See the GPU
nvidia-smi
Look for the GPU model name, driver version, and GPU memory usage.
4B) Confirm CUDA Toolchain Basics
nvcc --version
Note: some images may not include nvcc by default — that's okay. nvidia-smi is the most important first check.
4C) Confirm PyTorch Sees the GPU
python -c "import torch; print('torch', torch.version); print('cuda?', torch.cuda.is_available()); print('device', torch.cuda.get_device_name(0) if torch.cuda.is_available() else None)"
4D) Quick Environment Inspection (Ops Habit)
uname -a df -h free -h python --version pip --version
This builds the muscle memory you need for troubleshooting exam-style scenarios.
Step 5 — Common Troubleshooting You Should Practice
JupyterLab Won't Load / Blank Page
Wait 60 seconds — first start can be slow. Try a hard refresh with Ctrl+Shift+R or Cmd+Shift+R. Open an incognito window. Check the Pod logs in the console for Jupyter startup lines.
SSH Doesn't Work
The most common causes are port 22 not being exposed or SSH over exposed TCP not being enabled by the template, or an SSH key that was added after pod start and therefore wasn't injected.
Step 6 — Clean Shutdown Habits (Cost + Hygiene)
When you're done studying, stop the Pod to avoid compute charges. Keep in mind that stopped pods can still incur storage costs for disk and volume.


